02. Explore the Simulator
Explore the Simulator
Unity Environment
We used the Unity game engine to build the simulated environment you'll be navigating through in this project. Unity offers a free personal license and is largely open-source, making it a great option for a program like this. It works across Linux, OS X and Windows platforms.
You don't need to know anything more about Unity to use the simulator, but if you want to learn more or get started building your own environments check out their website! The code we used to build the environment for this project is all open-source and you can check out the code in this repository.
Exploring the Simulator
Download and Launch the Simulator
The first step of the project is to download the simulator and familiarize yourself with how it works. Use the links below to get the simulator version that's appropriate for your operating system.
MacOS Simulator Build
Linux Simulator Build
Windows Simulator Build
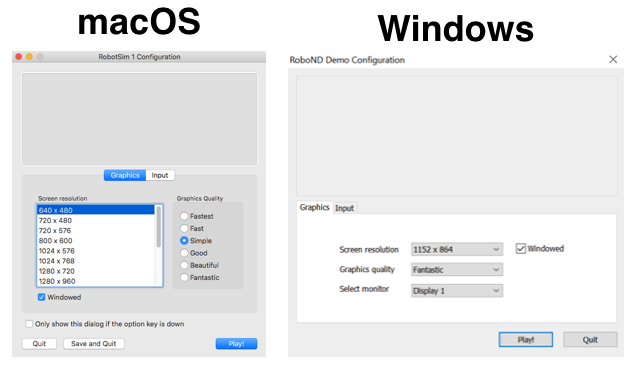
When you launch (double click on) the simulator you will have the option to set the resolution and graphics quality. You could choose lower resolution / quality for faster rendering. Be sure to check the box next to Windowed so the simulator doesn't take up the full screen. Click on the input tab to change the keyboard input definitions; this may be necessary if you are on a non-U.S. keyboard. The next time you launch, these settings will be restored. Click Play to launch the simulator!
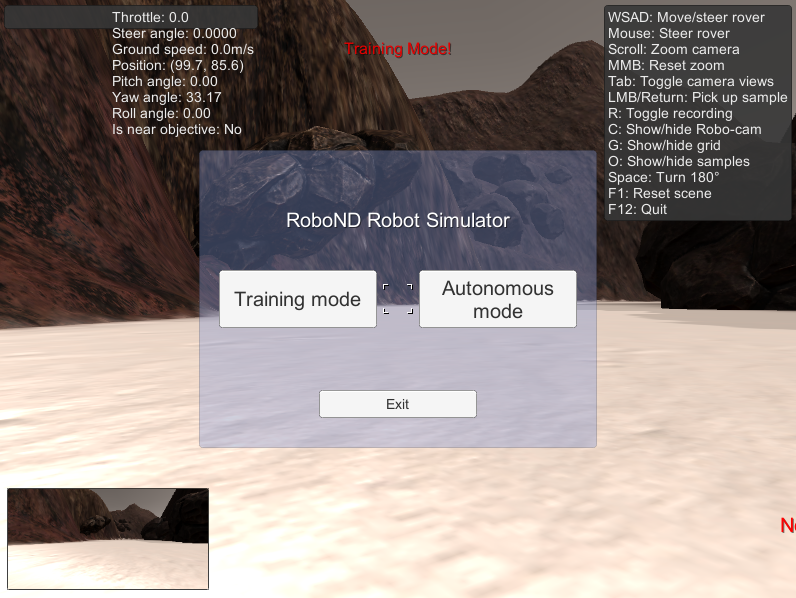
Once you click Play you'll see a screen that looks like the one below. Choose Training Mode to be able to manually drive the rover around in the environment. You'll notice the app takes over your mouse immediately. You can use the Esc key to get your mouse back.
Manual Controls
Experiment in Training Mode with the various manual functions.
- Throttle, brake and steering:
wsadletters orarrow keys(can also steer with mouse) - Toggle mouse function between camera perspective and steering:
esckey - Change the viewing perspective:
tabkey or mouse - Change zoom on the viewing camera: mouse
scroll - Reset viewing camera zoom: middle mouse button (
MMB) - Activate the robot arm to pick up a sample: left mouse button (
LMB) orenterkey (only works whenis near objective = yes)
Have a look around and explore the environment!
Note: Unity vs. Gazebo
Later in this program you'll be using the Gazebo simulation environment because of the powerful physics engine it offers and its seamless integration with the Robot Operating System or ROS, which you'll learn about in the next lessons. Unity, however, offers much more photorealistic image quality than Gazebo, which can be a major advantage for computer vision applications. In this program we provide you with exposure to both Unity and Gazebo because both are powerful tools and each has its own unique advantages.
Simulation is a huge part of robotics development and several teams (including our own) are working to make the connection between ROS and Unity much more fluid. As such, going forward as a roboticist, you can expect to get even more exposure to working with game engines in simulation.